
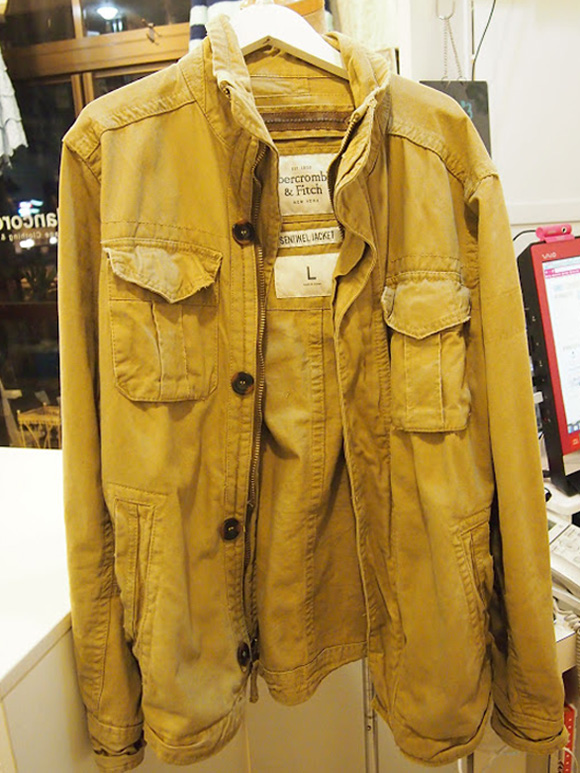
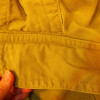
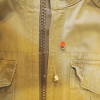
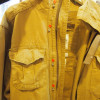
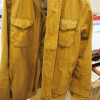
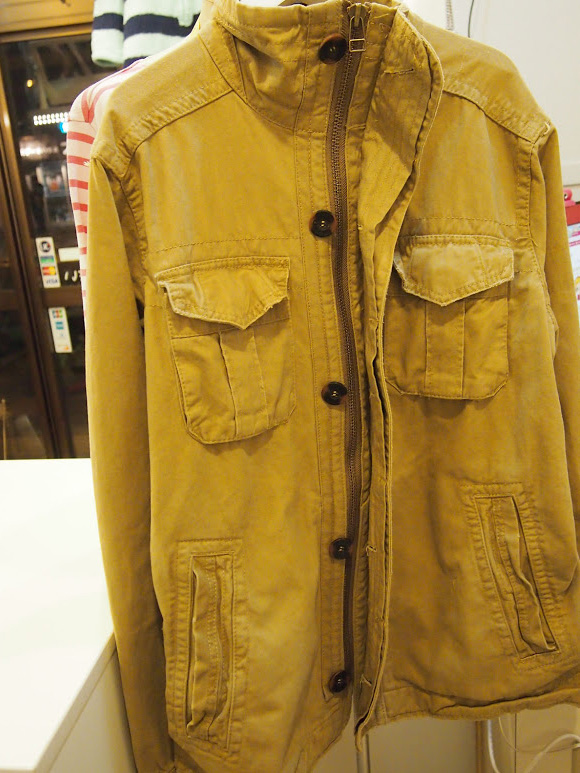
こちら、モッズジャケットのファスナー交換を承りました。5480円です。
Exchanging a broken zipper to a new one for this mods jacket . 5480 yen.
ちなみに、こちらは男性の洋服です。当店で販売している衣料は女性ものばかりなので、男性の方からは、入りづらいというご意見をいただくことがあります。入りづらさについては得策が思いつきませんが、男性のカジュアルなお洋服もお直し承っております。安心してお入りください。
The customer who brought this was male. He said that he hesitates to enter my shop because the most of clothing that I sell here are for women. I don't have any idea to make my shop for entering easily but I do clothing repair for male casual clothing as well. Please don't hesitate to enter here and ask me.
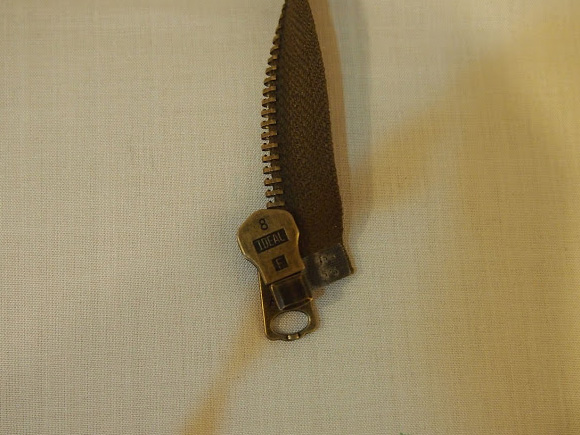
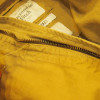
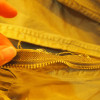
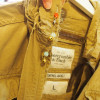
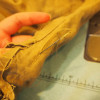
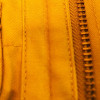
承ったこのジャケットですが、スライダーの後ろには、"IDEAL"と刻印がしてありました。IDEALはアメリカのジッパー会社。当店では取扱いがあるのはYKKだけですので、YKKのものを発注しました。
There was "IDEAL" engraved on the back side of its slider. "IDEAL" is an American zipper company. I don't know any suppliers to sell IDEAL zippers here in Japan, so I used YKK one. YKK is Japanese fastener company.
ファスナーを注文するたび、新しい知識を得ます。いつもファスナーを発注する糸屋さんから、アメリカの衣料品は、おおよそジッパーは左刺し(スライダーが右側・オープンレフト)ということを教えてもらって、確認したら、こちらもオープンレフトのジッパーでした。YKKでは、左さしも右さしも、両方できるというので、せっかくなので、左さしのファスナー注文しました。
Every time I order for custom-made zippers, I get new knowledge of it. A yarn seller which I make orders always, they told me that zippers of American clothing opens left which slider is on right side. Japanese one usually opens right. I wonder why... Anyways, they also told me that YKK can make both. So, I ordered an unusual open-left zipper of YKK.
では、こちらのモッズジャケットのファスナー交換の工程を少し紹介します。
Now, I will show you a little bit about the process of exchanging the zipper.
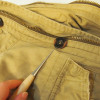
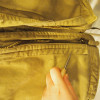
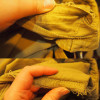
1. 解体 Unseam
この作業は、全体の3分の2を占めているような気がします。
I think this unseam work takes two-thirds of the whole process.
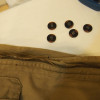
まず、ボタンを取るところから。Take buttons off.
他のパーツをほどいて外します。
Unseam and take all parts which disturb to sew zippers.
襟の部分 the collar
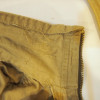
the top stitches
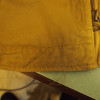
裾 the bottom
見返し the inside covers

ファスナー the zipper
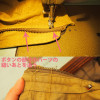
2. 印つける Marking
新しいファスナーを仮留めして、左右合うように印をつけます。
Mark points to fit the left and right.
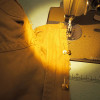
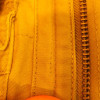
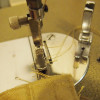
3. 縫う Sew
2で印をつけたところだけ先に縫います。縫ってる途中でずれるのを防ぐためです。
Sew the points first so that it won't get out of positions.
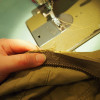
ファスナーを縫いつきます。Sew the zipper.
写真撮り忘れました。no photo for this.
見返しを縫います。Then, sew the inside covers.
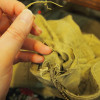
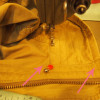
襟の部分、ちょっとややこしや。the collar. complicated.
糸を中に引き入れて、結んでほどけないようにして隠します。
Pull the threads inside and tie them.
写真も説明もイケてないのですが、襟のステッチ、隠したところから縫って、新しく縫ったところの糸も、中に入れます。
Stitch over on the lines.
が、片方2か所?3か所?健忘・・。
そして、ファスナーの部分、トップステッチ。の写真がありません。the top stitch on body. No photo...
ボタンがあった部分のパーツを縫い付ける。Sew the part which was under the buttons.
ここ、横着してしまって、そのままの押さえを使って縫ったら、厚みと段差があって、縫いずれてしまいました。
ほどいて、縫いあとを、目打ちで縦横ナナメと軽くカリカリして、跡を消しました。
 →
→ 
押さえを変更して、再度。

襟の部分、残ってる部分を縫います。the edges of the collar.
そして裾。の写真がありません。the bottom. no photo..
ボタン穴のついてるカバー。the top cover.
わー!終わりー!ではありません。It is not finished yet.
ボタンをつけます。Don't forget about buttons!
おわり!Done!!