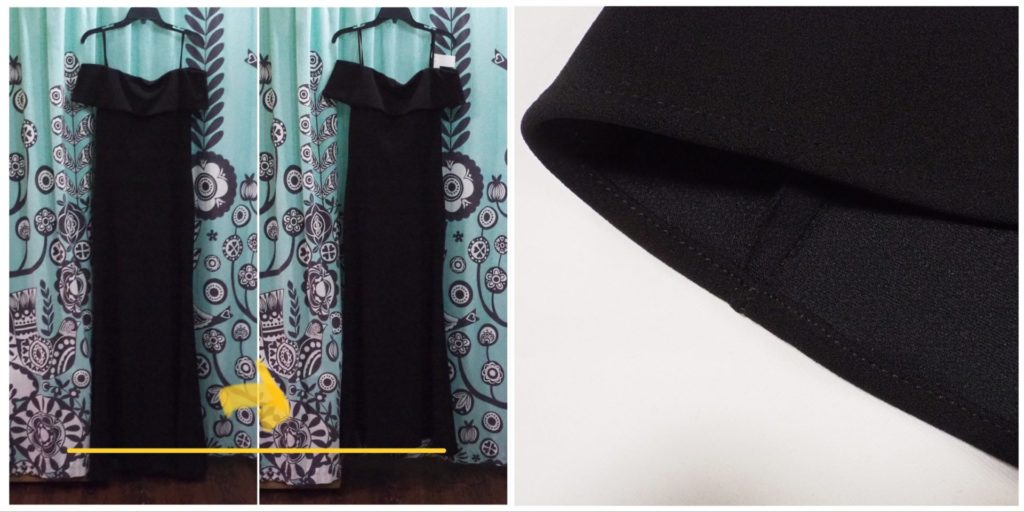
This is a rolled hem. I always try to sew the same as the original.
ドレスの裾上げ、三つ折り仕上げです。オリジナルと同じように縫うようにしています。
- Within 1m on flat folded.
平置きで幅が1m以内 - Thick knit fabric
厚地のニット生地 - Cover stitch finishing
カバーステッチ仕上げ - 4000 yen up to 2 layers. This price would be raised to 5000 yen in 2023.
裏地1枚まで4000円⇒2023年に5000円へ値上げ予定です。 - Need 2 weeks.
納期は2週間
How to hem a dress
Two kinds of Sewing Machines 2種類のミシンを使用
- SPUR 90 Sewing machine シュプール90
- #9 needle 9番の針
- Black color Resilon which is thread for knit fabric 糸はレジロン
- Used for hemming メインでこのミシンを使いました。

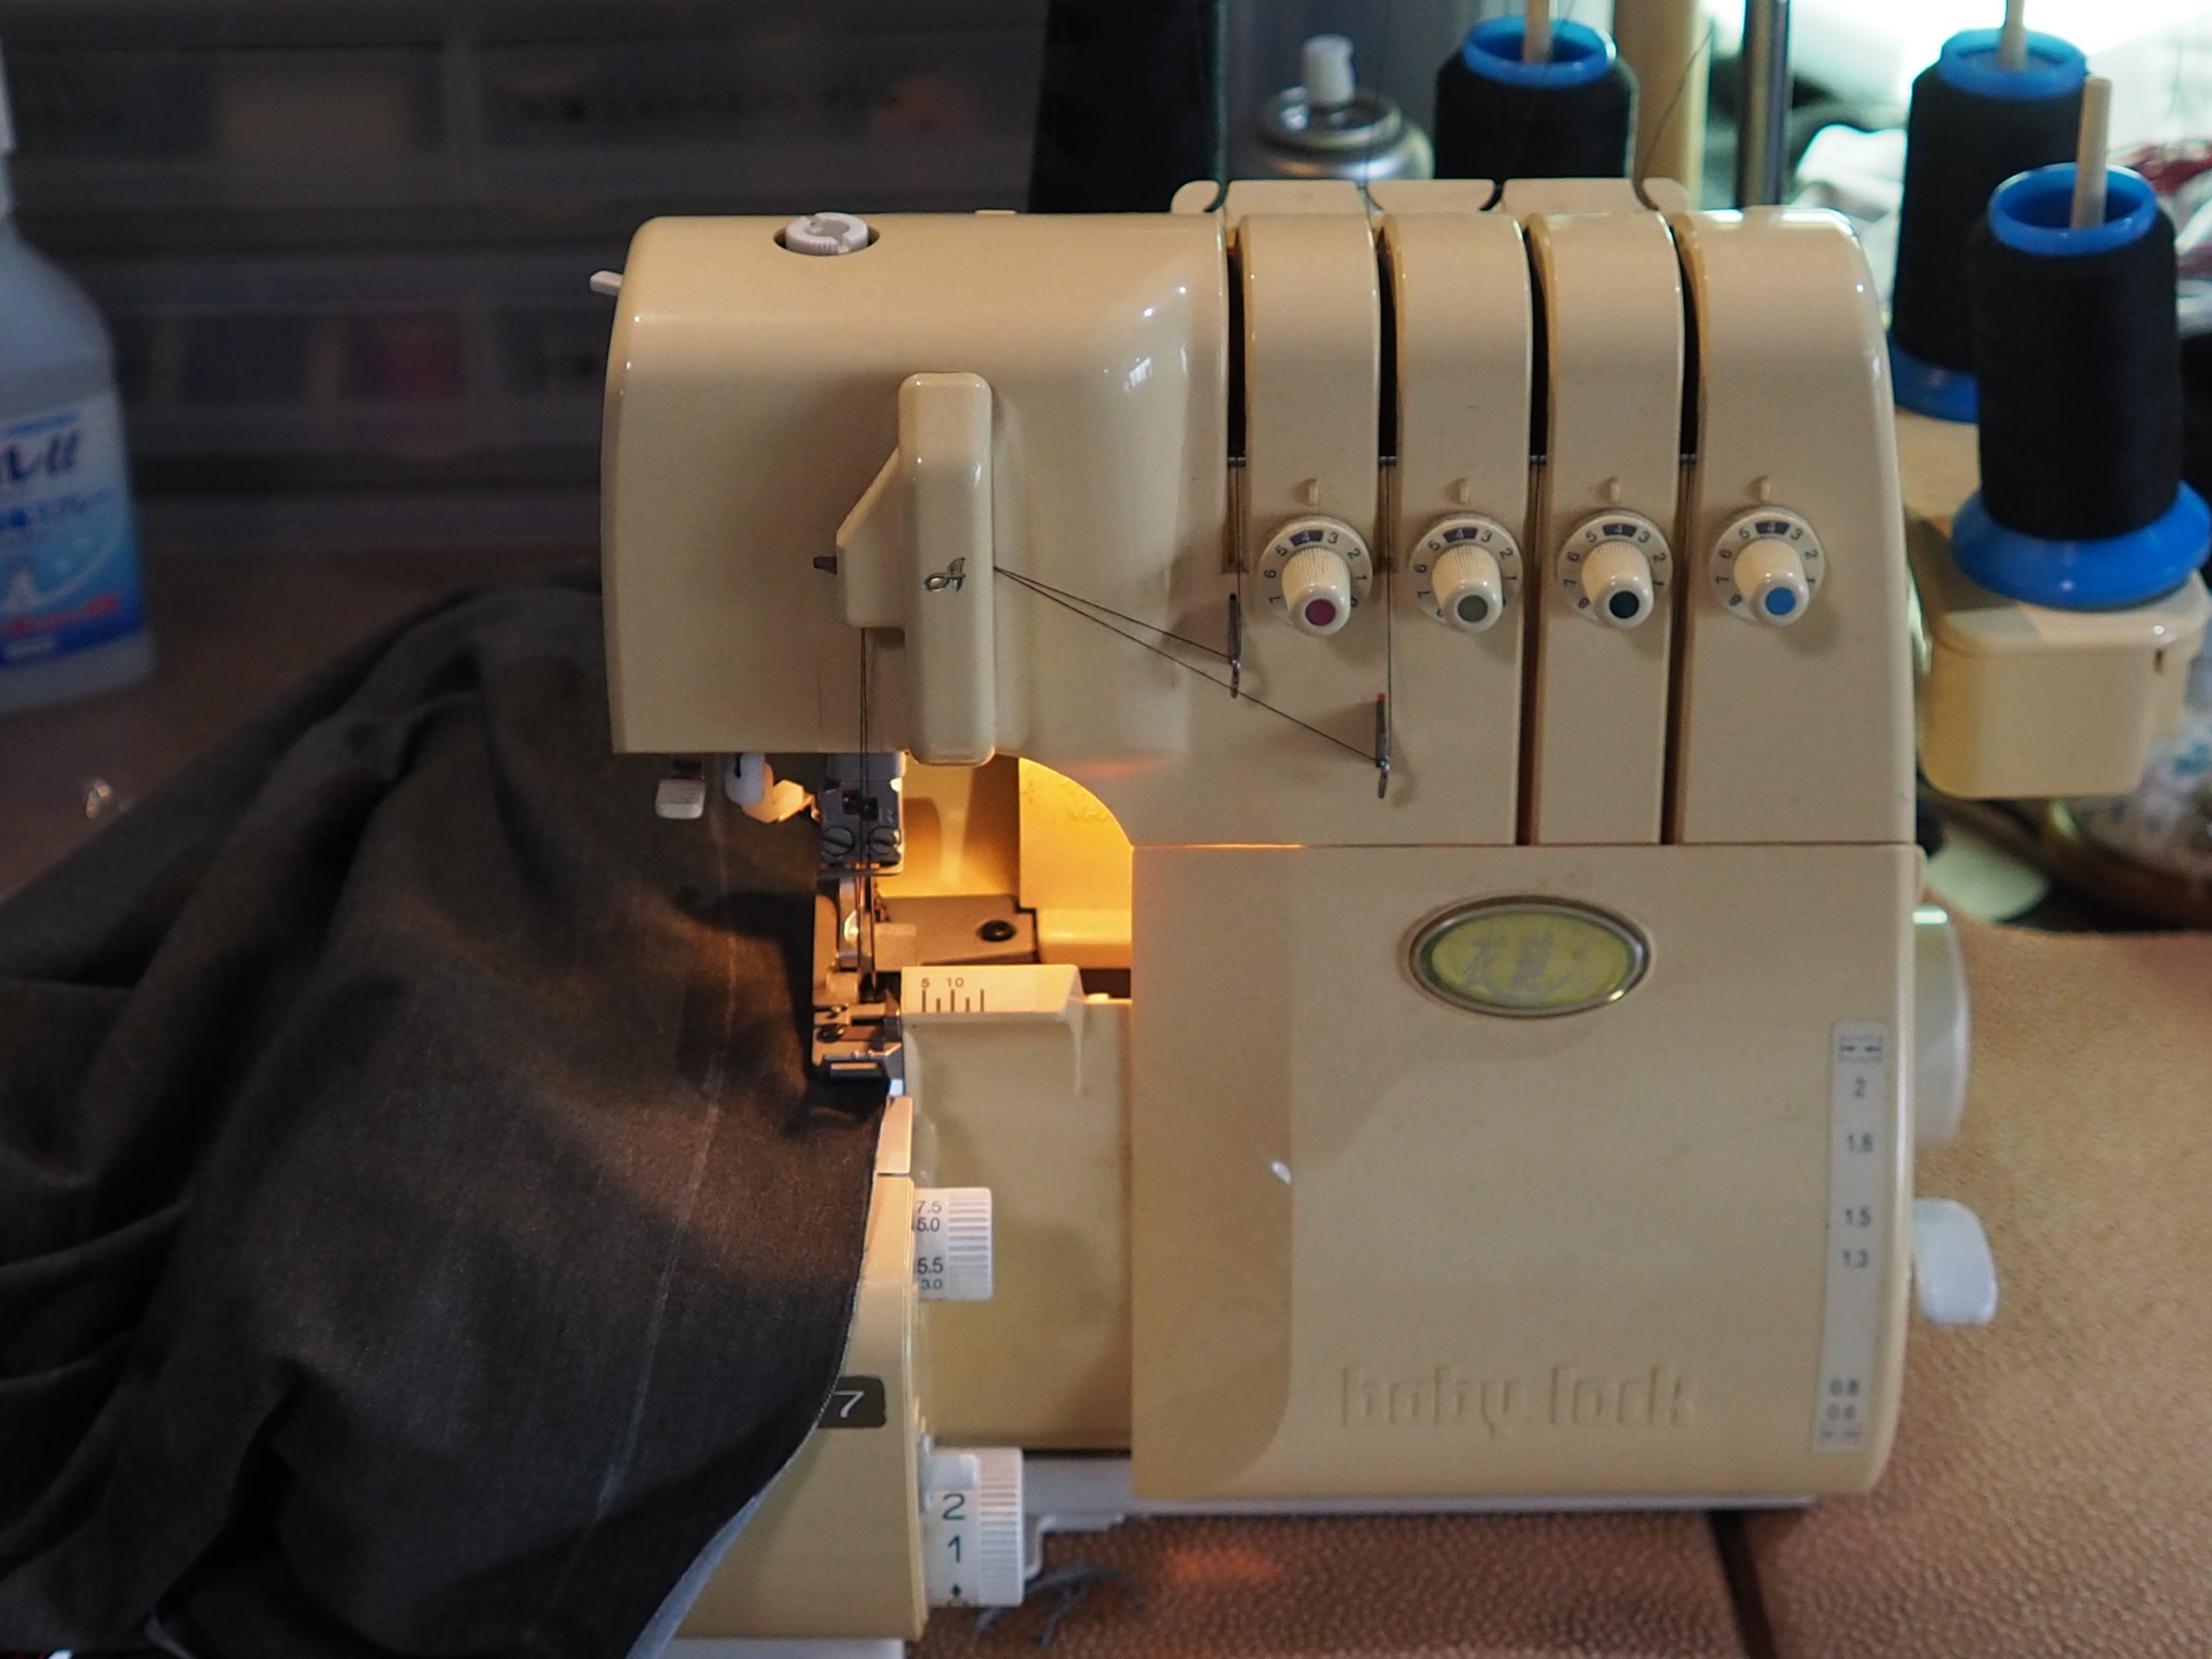
- Baby Lock Serger sewing machine ベビーロックのロックミシン
- #11 needles 11番の針
- #90 black color span thread 90番のスパン糸
- Used for displacing the washing label 洗濯ラベルを移動するのに使いました。

Draw lines 線を引く
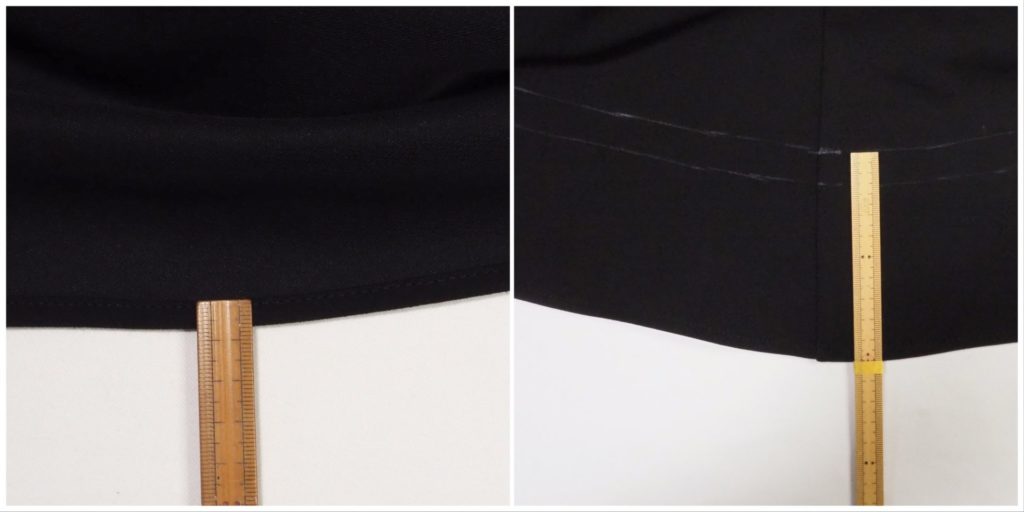
Measure the original hem length. Draw the line to fold and a parallel line from it to the hem length.
元々のヘムの長さを測ります。短くしたい長さのところに線を引いて、そこから裾の方向へ、ヘムの長さを平行に線を引きます。
Cut 切る
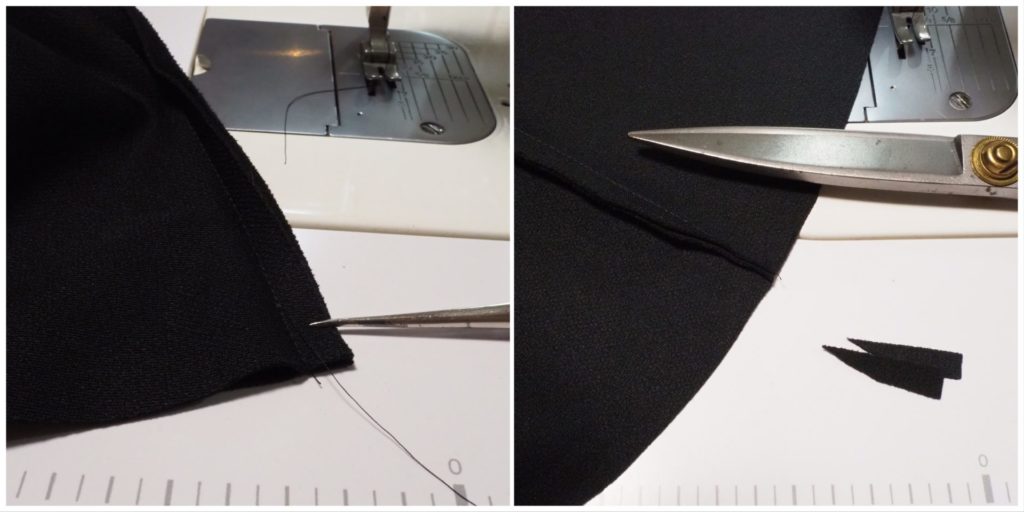
Cut the excess fabric off including the seam allowance of front and back which were sewn together.
余分な布をカットします。この生地は薄手のウェットスーツのように厚地です。カットしたオリジナルの裾、前身ごろと後ろ身ごろの縫い合わせたところを縫い解いてみると、1.5㎝くらい斜めに縫い代がカットされているのを確認しました。
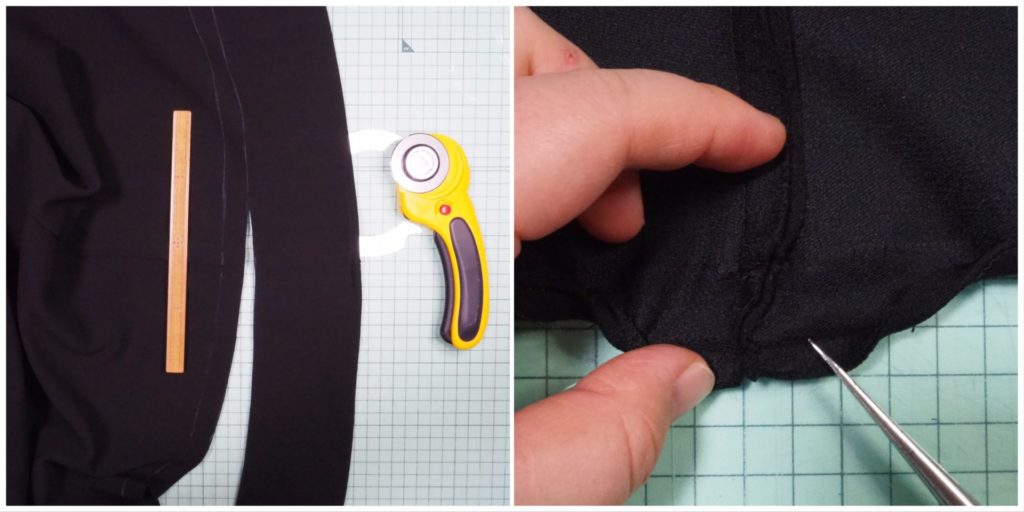
同じように、1.5㎝くらいをカットします。5㎜幅の三つ折りで縫うときに、前身ごろと後ろ身ごろの縫い代が邪魔になります。そのまま縫うとお団子のように盛り上がってしまうので、カットして縫うとキレイに仕上がります。
Sew 縫う
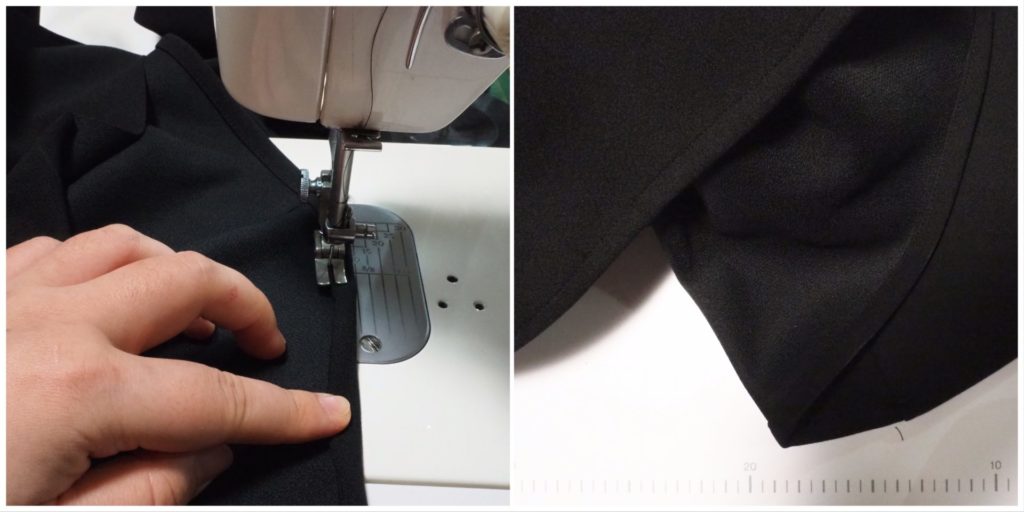
Fold hem double and sew the edge.
5㎜幅につまんで2回折って端を縫います。
Lining 裏地
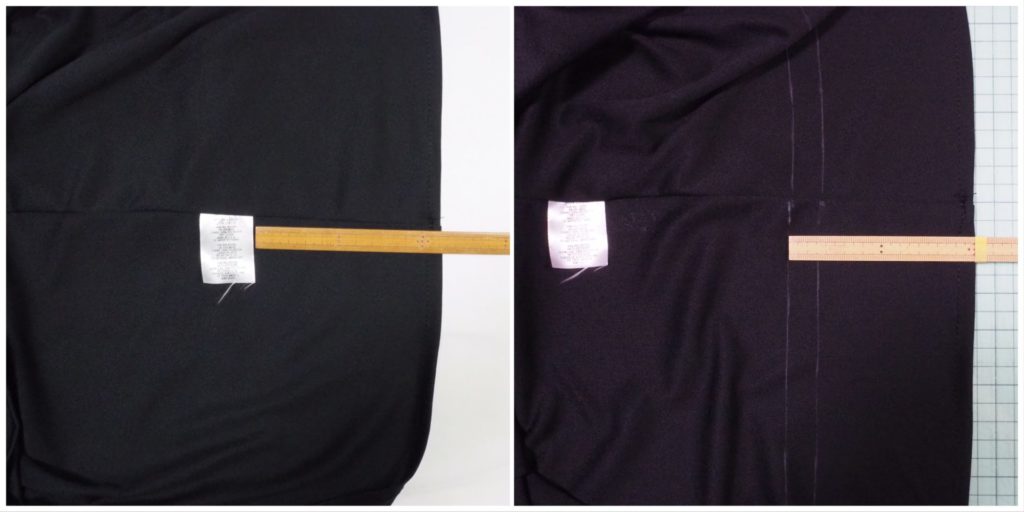
Do all over the almost same procedure for the lining except for displacing a washing label.
裏地でも同じ手順で裾上げをしますが、その前に洗濯タグを移動します。
At the last, iron the hem and finished.
最後にアイロンをかけて完成です。

